To add a product to a school's store, first click on the Store tab in the left-side menu. Locate the school, and click on their Settings button.
Step 1: Add a product to the store. Click on Add Product to get started.
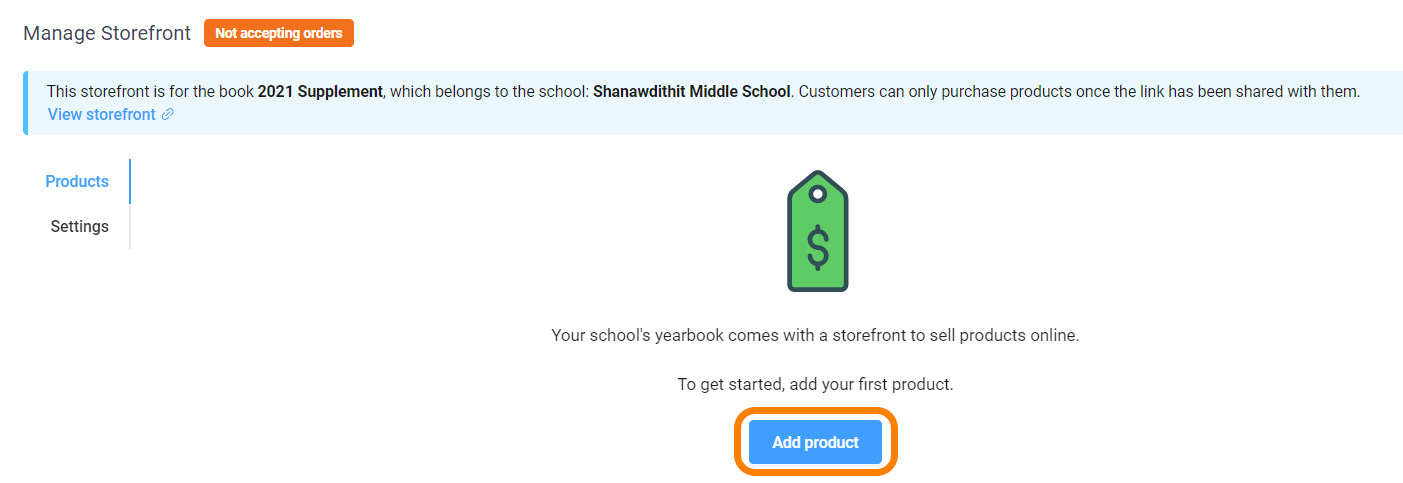
To add additional products, click on Add New Product.
Step 2: Choose a printed book product.

Step 3: Complete the product description and sales dates/time form.

Store visibility options allow you to determine when the product goes on sale:
- Visible products will immediately be available to purchase. Set an end date and time to conclude sales.

- Hidden products are not available for purchase until made visible or scheduled.

- Scheduled products allow you to choose a start and end date/time where the product will be available. No one will be able to purchase the product until the sales date/time starts, and the product will conclude sales at the sales end date/time.

Step 4: Add product pricing -- include your retail pricing, the school's fundraising mark-up (optional). 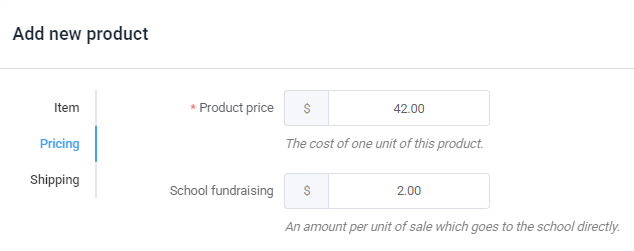
If you do not have a preset number of books available, leave quantity in stock as is. If you are selling off pre-printed inventory, then checkmark Track Stock, and enter the number of books available. Learn more about selling a set inventory.
As the pricing is updated, a breakdown of the customer's pricing and your net sales will be displayed for your convenience.
Step 5: Add shipping information.
Choose In-School Pickup for books bulk-shipped to the school for distribution on-site.
Choose Ship to Customer for home shipping. 
Ship-to-Customer requires you to specify the cost of shipping and the maximum number of books available at the shipping price.

Step 6: Store Settings
- Add customer support email to be added to the storefront (eg. your own support email, a school administrator).

The Contact Us link will direct emails to this address.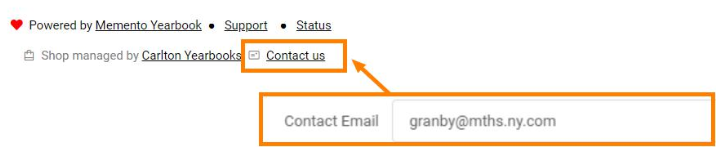
- Turn on the storefront for orders.

- Optionally provide a passcode for student lookup by parents in the store, useful if the portrait database has been set up in the yearbook. Full details regarding this feature are available in the Parent Passcode article.

Step 7: Start selling! Copy the store URL from the top of the Storefront setup area for your school to share with its community.

Was this article helpful?
That’s Great!
Thank you for your feedback
Sorry! We couldn't be helpful
Thank you for your feedback
Feedback sent
We appreciate your effort and will try to fix the article